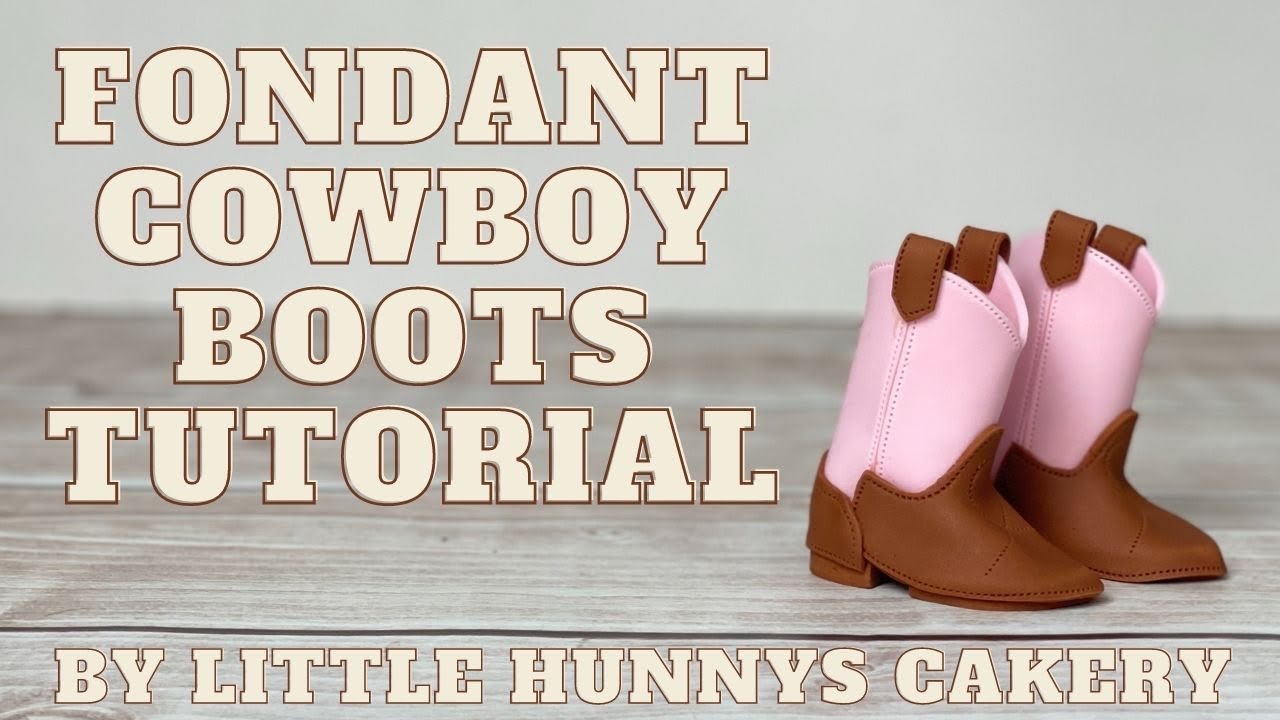
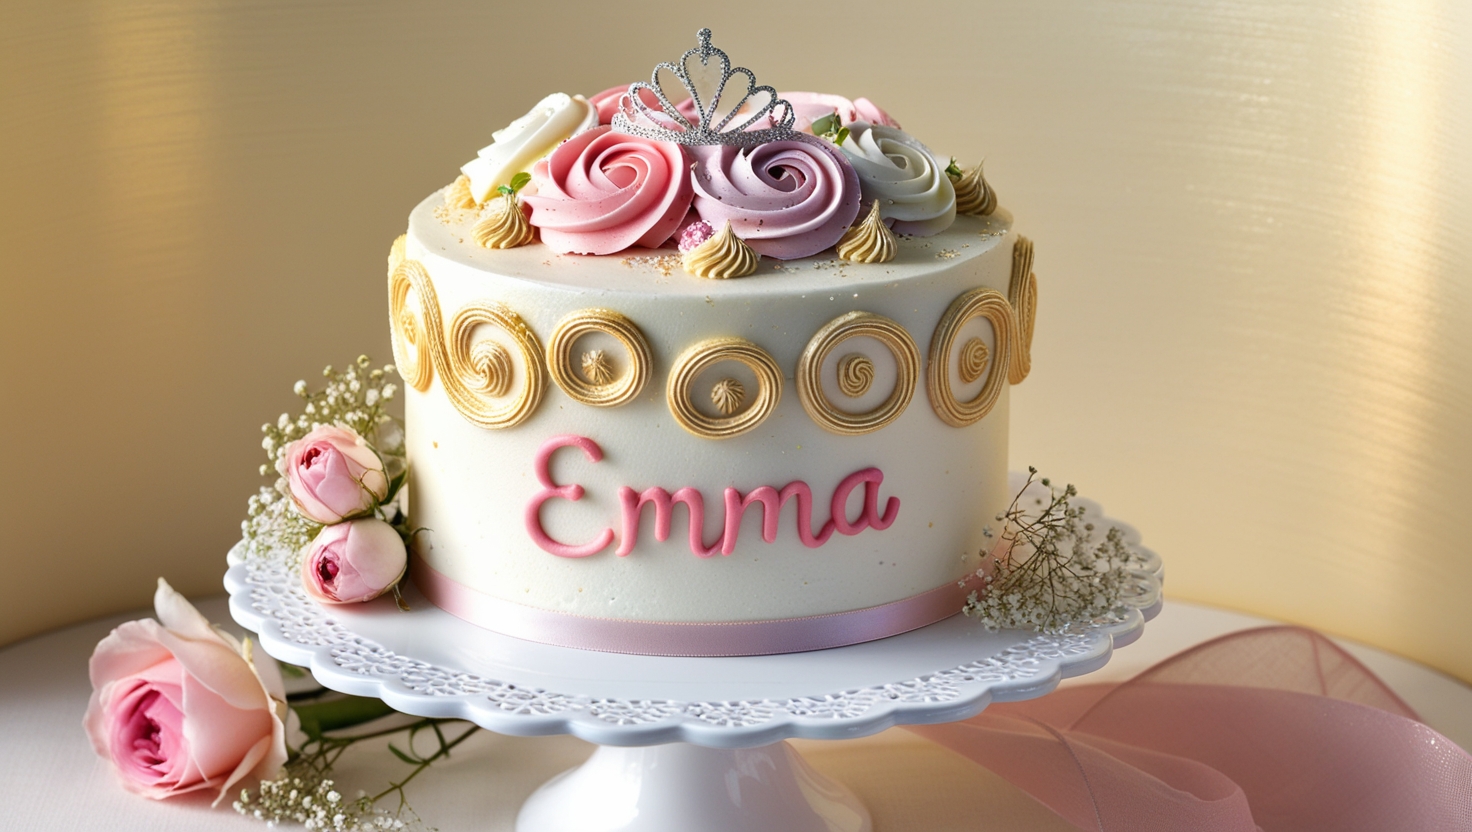
Girly Birthday Cakes – When it comes to birthday cakes, especially for those milestone years, we want something that reflects the birthday girl’s personality. For Emily’s 19th birthday, her mom requested a cake that was girly but not childish. The perfect solution? A cake adorned with a handcrafted cowboy boot topper, personalized to match Emily’s favorite pair!
Girly Birthday Cakes – Embracing the Challenge of a Unique Cake Topper

While I had seen countless cowboy boot toppers gracing cakes online, finding a decent tutorial proved to be a real challenge. Being a bit stubborn (in the best way possible, of course!), I decided to take the plunge and figure it out on my own.
As a seasoned cake artist, I often dive headfirst into projects, rarely pausing to document the process. But this time, I felt compelled to snap a few quick photos as I went along. Little did I know, this impulsive decision would lead to the creation of this very tutorial!

A Step-by-Step Pictorial Guide to Crafting a Cowboy Boot Topper
Keep in mind that this is not your typical, perfectly staged tutorial. These photos were taken on the fly, simply as a way for me to remember the steps. Consider it a behind-the-scenes peek into my creative chaos!
Important Notes:
Fondant Choice: I opted for a 50/50 mix of Satin Ice chocolate fondant and Satin Ice gumpaste. If you’re working with marshmallow fondant, you might be able to skip the gumpaste depending on its elasticity. Gumpaste is helpful for speeding up drying time and adding structure.
Drying Time: Allow the sole of the boot to dry thoroughly on a cardboard form for several hours, preferably overnight, before attaching other elements.
Template Magic: Don’t underestimate the power of templates! They are your best friend when it comes to achieving accurate shapes and sizes for the various boot parts.
A Glimpse into the Process:
Creating the Sole: I started by shaping the sole of the boot, allowing it to dry overnight on a cardboard form. I’ll admit, I forgot to curl the toe upwards initially, so I gently bent it later and propped it up with a small wedge of fondant.
Shaping the Calf Portion: Using a template, I carefully cut out the portion of the boot that covers the calf and used the template again to help it hold its shape as it dried.
Molding the Toe: To create the toe, I draped fondant over the dried sole to get an impression of the required shape and size. This impression served as a guide for cutting out the final toe piece.
Adding the Heel: The heel was crafted in a similar fashion, using a small piece of fondant to form the distinctive heel shape.
Personalization is Key: To make the topper truly unique to Emily, I added personalized details that mirrored her actual cowboy boots.
Sharing with a Purpose:
Remember, the techniques I’ve shared here are the result of my own experimentation and are meant to inspire your own cake decorating adventures. They are not intended for commercial use or profit.
Ready to Create Your Own Girly Birthday Cake Masterpiece?
I hope this unconventional tutorial gives you the confidence to tackle your own cowboy boot cake topper! Remember, it’s all about embracing the creative process and adding your own personal touch. Don’t forget to share your amazing creations with me—I can’t wait to see what you come up with!
Happy Caking!


